Crest Cottage Creations

Food, Family, and Fun in our little cottage…


1 Comment

Revisiting the Roasted Whole Chicken

Since my last post on the crockpot roast chicken, I have adapted my technique a bit.  Check it out, complete with new pictures.
To start, I stack the whole chicken on top of some veggies.  Onions are my favorite, but carrots are good, too.  Potatoes and celery also fit the bill.
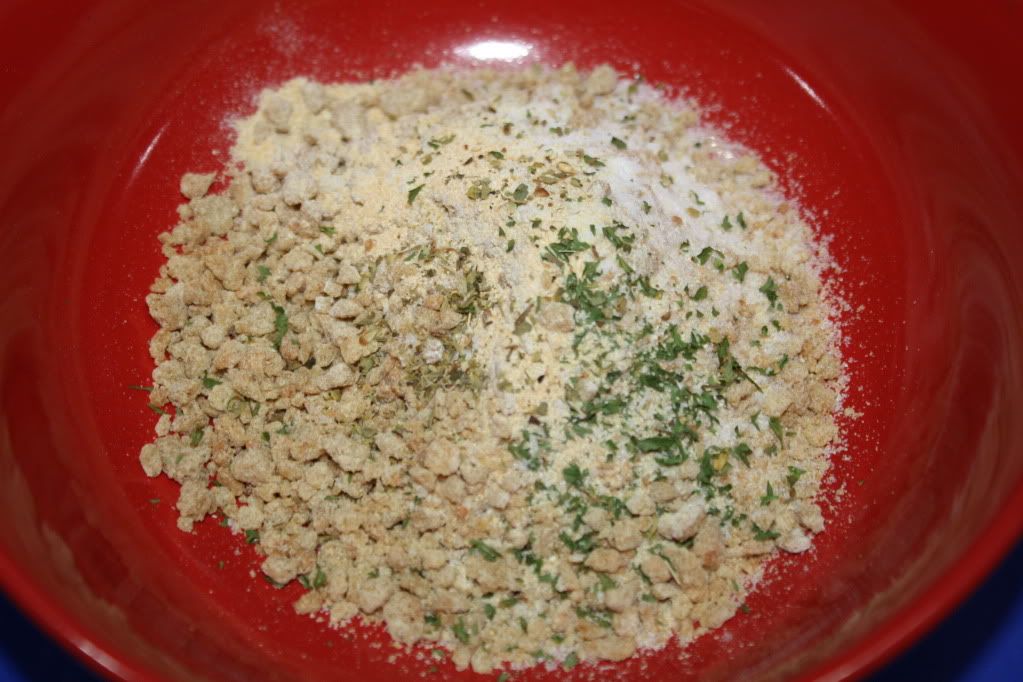
I season the chicken with salt, pepper, and whatever other flavors I am in the mood for.  This one was paprika.  I cook it on low for about 8 hours.  Once it is done, I now crisp up the skin.  To do that, I place it on a roasting rack and broil it in the oven for a few minutes.
That is it!  Easy and it tastes great.  Now, I like to stretch out a chicken as much as possible.  The first night, we eat the legs (most recently, with onions and hyssop salad).
Then, I save the breasts for something else.  I usually use it on salads or in leftover cooking.
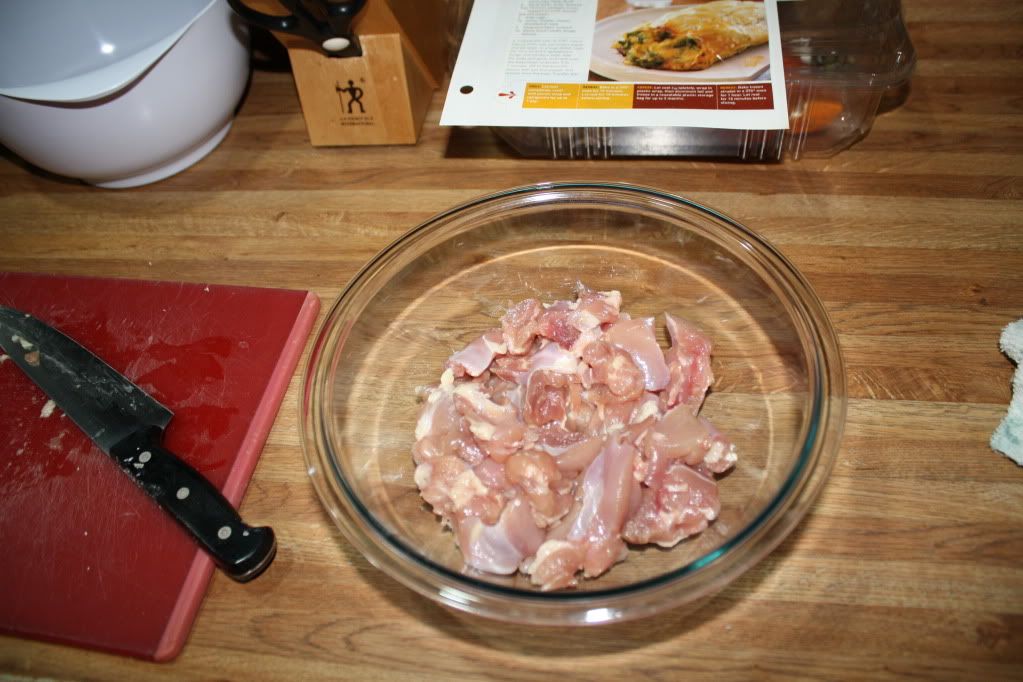
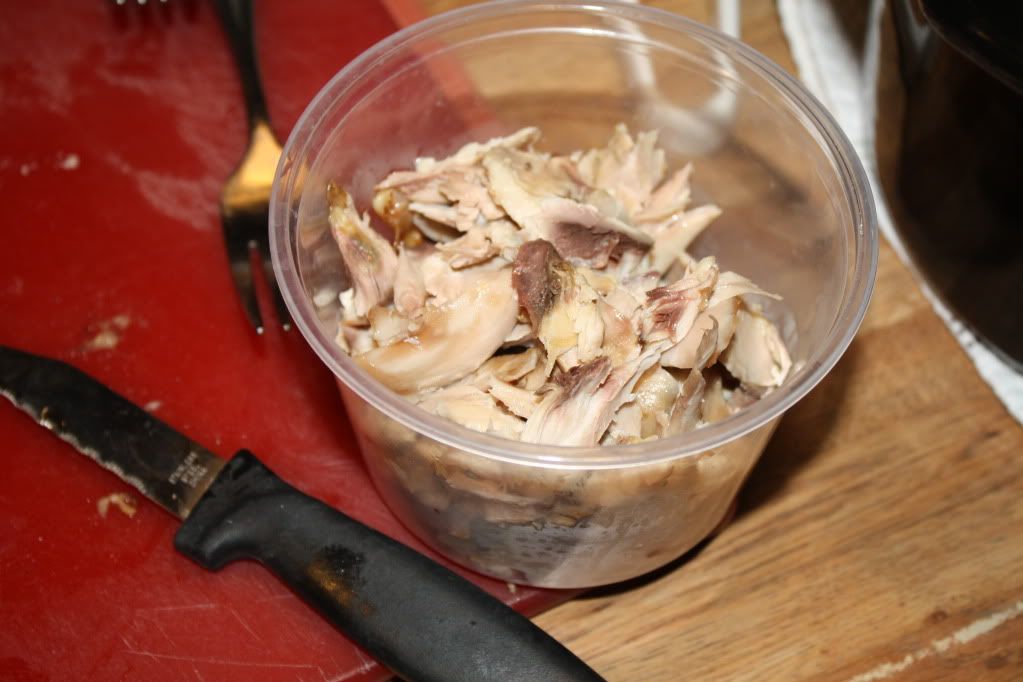
Then, I pick apart the rest of the chicken for scraps.  There is typically about a pint, sometimes more.  That is best suited for stir fries, soups, salads, or leftover cooking.
Now, I put the bones, skin that wasn’t eaten, and other scraps into the crockpot with all the veggie scraps I have saved in the freezer for this very occasion.
I fill it with water and apple cider vinegar and let it soak.  It is said that doing this extra step helps the nutrients in the bones become more available.  I’m not sure if it is true, but I figure it can’t hurt.  After it has soaked for a while, I cook it on high for a long time (usually until I have time to strain it).
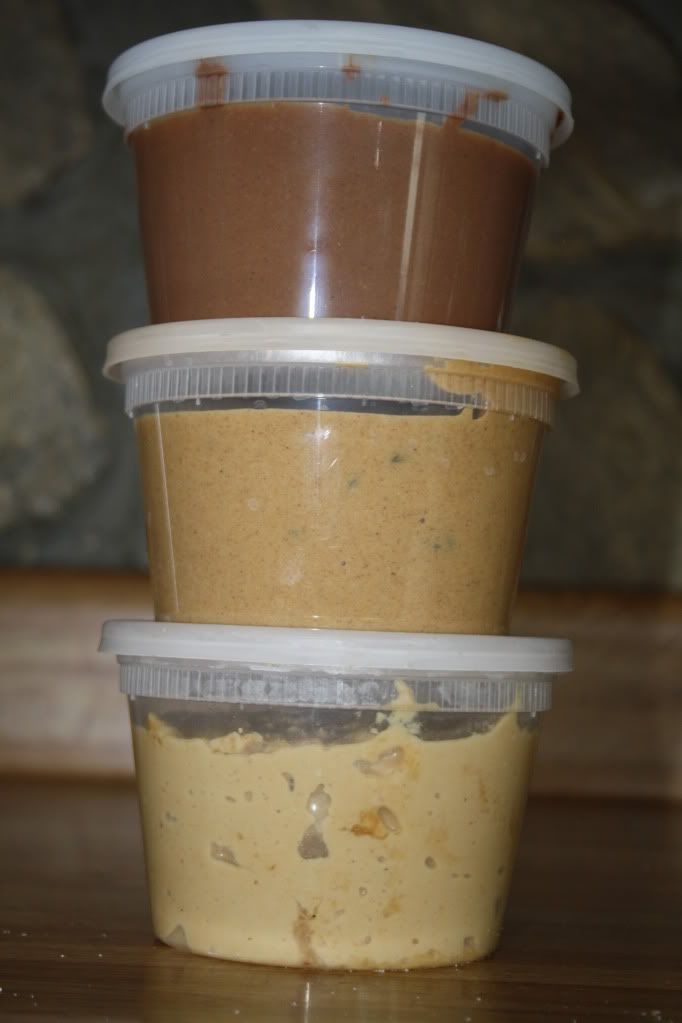
Once it is cooked, I pour it through a mesh strainer into a big bowl and stick it in the fridge.  If a thick layer of fat forms, I skim it off.  Not because I don’t want it, but because I can then cook with it.  Free cooking fat!!
I typically end up with more than a half gallon of stock!
All in all, I get a dinner for 2 the first night, a dinner for 2 and lunch for 2 with the breasts, lunch or dinner for 2 with the scraps, cooking fat for a meal or two, and broth for a while!  Not too bad for one chicken, huh!This post was shared on Make Your Own Monday and  Simple Lives Thursday!


Leave a comment

Seafood Ravioli

I am really into making the soaked whole wheat macaroni lately.  It does take a little time (more than opening a box, that’s for sure!) but it isn’t hard.  I have to get better at the texture, though.  Sometimes it is too doughy, sometimes it is too soft.  I am having trouble getting it al dente, which is how we like it.  The texture was the biggest stumbling block with this ravioli.  I am open to suggestions!!!  
Anyway, the flavor of everything else was great.  I wanted to make the filling with clams, but we didn’t have any.  So, I sauteed some shrimp in butter and olive oil.
When they were done, I toasted up some bread and crumbled it in the pan with more butter, a can of anchovies, and some garlic.
I put the shrimp and the breadcrumb mix in the food processor with an egg and some parsley.  
Once this was done, I rolled out the dough.
Then, I spooned the mixture on.
I covered the raviolis, pressed the air out, and sealed them.
 To go with it, I sauteed some spinach in lemon and LOTS of butter.
 I forgot to take a picture of the raviolis topped with the lemon-butter spinach, but I did snap a picture of the raviolis John fried in coconut oil!
We enjoyed the Macaroni Monday meal with an arugula tomato salad with balsamic vinaigrette and shaved Parmesan cheese!
The whole thing wouldn’t have taken too long, but, as always, I get easily distracted!


9 Comments

Toothpaste Update

If you haven’t already, check out the original “Toothpaste” post.  
I have been using the toothpaste for just about a month now.  I have pretty much adjusted to the taste and texture of the paste.  I want to add in some more peppermint oil next time I make it, because I want a stronger flavor.  My teeth and gums still feel sparkly and clean. 
Aaaaannnnnnnddd…..
I went to the dentist for a checkup.  I am cavity free, which is great, but there is more good news!  When I went for my check-up a year ago, they found a teeny tiny cavity.  I asked them NOT to drill-n-fill it, just as a personal experiment.  I had read a little about the body’s ability to re-mineralize teeth and I wanted to see if it was true.  Now, I don’t recommend doing this, of course.  I made the decision because I have exceptionally strong teeth, the cavity was VERY small, and I trust my intuition.  
When I went back to the dentist 6 months later (6 months ago), the cavity had morphed into a “slightly sticky spot.”  Good news!
When I went this time (now, a year after it was first discovered) it was gone!  The tooth was totally healthy!!!!
Now, I know the toothpaste didn’t fix my tooth.  But, I had no new cavities, the existing one healed, my gums bled WAY less than usual when the hygienist scraped around, AND both my medical doctor and my dentist commented on how white my teeth are.  
With all those positives, I’m sticking with it!

This post was featured on Simple Lives Thursday at GNOWFGLINS, Fight Back Friday at Food Renegade,  and Pennywise Platter Thursday at The Nourishing Gourmet!


6 Comments

Home Made Tortillas

My cooking goal right now is to make as many things as possible from scratch.  The next project I’m sharing is a home made tortilla.  I have made them in the past, and they are fun and easy.  
I pretty much use the recipe from this site, with a few minor tweaks.  
First, I mixed the dry ingredients together (2 cups of all-purpose flour, 1 1/2 t of baking powder, and 1.5 t of salt) with 2 t of coconut oil.
Then, I added in 3/4 cup of warmed raw milk.  It didn’t check a thermometer, but it felt warm to the touch.  
Once it was mixed in, I kneaded it until it formed a loose ball and let it rest about 20 minutes.  Then, I separated it into 8 smaller balls and let them rest for about 10 minutes.  
From there, I rolled each one out into a rough circle.  
To cook them, I just stuck them on a small dry skillet for less than a minute per side.  
They are done when they are speckled with brown spots. 
Now, I make them a little before I plan on using them, and store them in the fridge.  When it is time to use them, I throw them back in the warm skillet to soften them back up.  
They are so tasty, use so few ingredients, and are easy to make!

This post was featured on Pennywise Platter and Make Your Own Monday!


4 Comments

Makeshift Pizza

Here at Crest Cottage we have a few traditions.  One of my favorites is “Pizza Friday.”  Now, we don’t have Pizza eeevvvvvery Friday, but we have it often enough.  When I’m meal planning and out of ideas, sticking Pizza Friday on fixes everything.  
This past Friday I didn’t plan for what KIND of pizza we would have.  John likes a traditional pie, with tomato sauce and mozzarella, while I usually just throw whatever leftovers we have in the fridge on top and cover it with whatever cheese scraps are lying around.  The dough is easy, I make a lot of it and keep it in the freezer.  John defrosted it the night before and we let it rise while we were at work.  What we didn’t defrost, however, was the tomato sauce. So that takes care of John’s pizza… and we had no leftovers in the fridge because we didn’t overcook this week. 
Solution?  John took some canned unseasoned tomato sauce out of the pantry, mixed it with some seasonings and goat cheese, and topped it with mozarella.  I put a layer of goat cheese on the dough, sliced up some tomatoes, and added herb garlic cheddar on top. 
They were both so yummy I forgot to take a picture!  Bad Blogger!
I guess the point of this rambling post is that, with a little ingenuity and a LOT of creativity, a pizza full of nothing can turn it to a meal full of yum. 


11 Comments

Toothpaste

Thanks for all the support and commiseration on my Armpit Woes.  I was so inspired after sharing it with you all that I decided to experiment more with personal products… and share them with you!
Next up?:  Toothpaste
Why, you ask?  Why not?  I don’t have really strong feelings either way towards commercial toothpaste.  I do have strong feelings towards putting things into my body with tons of unnecessary ingredients that were created in a lab.  
Here is a list of ingredients from the toothpaste in my bathroom. 
Active ingredient: sodium monofluorophosphate
Inactive ingredients: 
  • glycerin
  • hydrated silica
  • propylene glycol
  • water
  • sodium bicarbonate
  • pentasodium triphosphate
  • tetrasodium pryophosphate
  • sodium lauryl sulfate
  • flavor
  • sodium hydroxide
  • sodium saccharin
  • carageenan
  • cellulose gum
  • calcium peroxide
  • titanium dioxide
  • FD&C blue no.1
  • D&C yellow no.10
WHEW! 
Okay, so opinions on those ingredients?  First of all, flouride is the only active ingredient.  I’m not sold on the importance of flouride.  I know, I know… dentists say we need it to keep our teeth healthy.  Well, doctors and other experts have been telling us to do things for generations and then we find out that it’s not so great after all.  So… there’s that.
Secondly, that is an awfully long list of “inactive” ingredients.  If they aren’t active, why are they there?  To carry the active ingredient, and maybe to make it taste better, since it is going in your mouth?  I’m okay with those reasons, but I find it hard to believe there is a need for THAT many.  I don’t really like Sodium Lauryl Sulfate…and saccharin?!  I refuse to eat that in my foods, why would I rub it all over my teeth daily!?
Sigh.  I started searching for a toothpaste recipe that contained ingredients I had on hand.  I settled on this one.  Here’s how I made it. 
Ingredients:  Coconut Oil, baking soda, and peppermint essential oil.  
Mixed…
… Used!
The verdict?  A little salty, a little minty, overall a win.  I’ve only used it twice so far, but I like the way it makes my mouth feel.  I’ll keep you posted as I use it more. 
The biggest problem I am having now is that the coconut oil is solid.  This is easily resolved by brushing my teeth after I take a hot shower, but what if I want to brush at another time?  Any suggestions? 

This post was featured on Simple Lives Thursday at GNOWFGLINS!


12 Comments

Armpit Woes

So, I had a great post about a lactofermented success ready, but that will just have to wait until tomorrow.  This I HAVE to share today.  
A little over a year ago I decided to stop using my traditional deodorant/antiperspirant and start making my own.  I’m not sure that I believe all the negative hype about antiperspirants, but the cost of them adds up, they were leaving white caked on stains on my clothes, the smell (although delightful) wouldn’t leave my clothes, and I was trying to weed out chemicals whenever I could.  
I was scared.  I teach dance and I sweat a lot.  I did lots of research and settled on a mix of coconut oil, baking soda, and cornstarch.  The first few days, I stank a little.  Then, after about 3 days, I noticed that I was sweating less and didn’t smell.  I smelled lightly of coconut for the majority of the day.  My clothes were clean, and new things I have purchased since then no longer have that caked on deodorant nor the cloying scent even after washing.  
Our annual recital is in June.  It is a hot, sweaty, stressful week.  I hadn’t been using my recipe for too long, so I was nervous it wouldn’t hold up.  I switched back to my commercial deodorant for the first 2 days of rehearsals.  I STANK!!!! It was horrible!!! I can’t ever remember smelling that badly!!!  My guess is that my body was some how adjusted to the chemicals before, and when I gave them a break and then put them back on, my body was like “NO!!”  I went back to my home made one for the shows and smelled like a coconut again.  WHEW!
Next hurdle:  I started reacting to the baking soda.  This happened around October.  I had been using it with GREAT results for over 6 months at that point.  It was sudden.  Just one day, I started to have a rash from it, and some weird pimple like things.  I stopped using it immediately (over a weekend when I was home, don’t worry!).  I switched to just coconut oil and hoped that would fix the problem.  Not only did the rash heal (really quickly), but I still didn’t smell!  Yes, I was moister than usual because the baking soda and corn starch weren’t absorbing it, but the smell didn’t come.  
Now, I just use coconut oil.  In the summer, I might add some cornstarch in and see if that works, but I might not even need to.  Life was good.
UNTIL TUESDAY.  ::cue scary music::
I forgot to put it on!  Once I got to work, I used some commercial deodorant.  WORST IDEA EVER.  Apparently my body was no longer used to it.  Not only did I REEK, but my pits swelled up and got a rash on them.  I couldn’t even put my arms on themselves.  I had to teach in a sweater to buffer my skin from itself.  They were so swollen and painful even after I went home and took a shower.  It was horrible.  It subsided by mid-day Wednesday, which is great, but I have learned my lesson.  
I wonder, though… how is it that something I used for years and years every day is now causing my body to practically declare war?

This posted on Simple Lives Thursday at GNOWFGLINS!


2 Comments

Convenience Food Re-do: Chicken Nuggets!

I have mentioned a few convenience foods that I’ve re-done, and I thought it was time to share another.  I have been in dire need of convenience items lately because I have taken on a second full-time job.  I am now constantly on the go (leaving less time for poor little Crest Cottage Creations) and am finding myself with less and less time to create in the kitchen.  Luckily, I have little tricks like this up my sleeve!
I purchased a family pack of chicken thighs from Whole Foods… Not the best available (from local happy chickens), but better than conventionally raised chickens.  Compromise is the name of the game.  
I took those thighs (because they are cheaper and juicer than breasts) and cut them into equal-ish sized pieces.  
I threw a ton of flour into the bowl and mixed it up to coat it all. 
I added in a mixed up egg…
… and then my custom breadcrumb mix.  I took the plain breadcrumbs and added garlic powder, parsely, oregano, and salt.  
The coated up chicken was mixed up and then spread evenly on a baking sheet. 
I baked it up at 350* for about 15-20 minutes. At the end of the baking, they were perfect!!
They were so juicy!!!
Once cooled, the whole baking sheet went into the freezer.  After they were frozen, I stuck the chicken nuggets into a baggie and they are good to go!

This post was featured on Real Food Wednesday, hosted by Kelly the Kitchen Kop, Monday Mania at the Healthy Home Economist, Fight Back Friday at Food Renegade, and  Pennywise Platter Thursday at the Nourishing Gourmet!


6 Comments

Flavored Peanut Butter

I have been playing with my peanut butter recipe more and more lately.  I thought you might want to know what I have come up with! 
Honey Peanut Butter- 2 cups peanuts and 1/3 cup local honey
 Cinnamon Raisin Peanut Butter- 2 cups peanuts, 2 t vanilla, 1/3 cup brown sugar, 2 T cinnamon, 1/2 cup raisins
Chocolate Peanut Butter- 2 cups peanuts, 1 t vanilla, 1/4 cup brown sugar, 2 T cocoa powder

All measurements are SUPER estimates.  As in, I measured, and then added more without measuring.  Smart, I know.  But at least it’s something!  Experiment to your heart’s content!
(From top to bottom- Chocolate PB, Cinnamon Raisin PB, Honey PB)

This post was featured on the Healthy Kids Meal Carnival at Creating Nirvana and the Hearth and Soul Bloghop!


1 Comment

Frozen Fun!

Continuing with yesterday’s fill the freezer theme, I wanted to let you in on a few other things I have been making in large batches to freeze.  
Meat-free macaroni sauce
Same as the the one with gravy meat, but, well, without meat.  First, I browned garlic in butter and added tomato paste.  Then I added tomato sauce, water and spices and let it boil down.  When it was cool, into the jars it went.  For more details, check out the gravy meat post. 
Pizza Dough Batches
I also made a bunch of pizza dough to freeze.  I made this pizza dough recipe and doubled it twice.  They were individually wrapped up and frozen.  I’m not posting pics, because it was the same as the other recipe and that would be boring.  
The freezer is starting to really shape up! 
What do you freeze?

This post was featured on Real Food Wednesday hosted by Kelly the Kitchen Kop!