Crest Cottage Creations

Food, Family, and Fun in our little cottage…


9 Comments

Cream of Nothing Condensed Soup

As you may have read, we were recently gifted a freezer.  Since then, I have been working hard to fill it up.  Hopefully, this will allow us to eat real food during busy/stressful/lazy times.  We should also be able to save some $$ because we won’t have to buy as many expensive premade items and we can buy in larger quantities at lower prices.  
One of the newest additions to the freezer is Cream of Nothing Condensed Soup.  You know all those recipes that call for a can of Cream of Chicken Soup or Cream of Mushroom Soup?  Most of them work really really well with leftovers, and can be premade earlier in the day and thrown in the oven later.  I always stumble upon them when I am looking for quick, easy recipes.  Unfortunately, we don’t really keep that in the house and I am not one to run to the store for ONE thing.  Especially when that thing had ingredients I’m not all that excited about.  
Ingredients in Campbell’s Cream of Chicken Soup:
Chicken Stock
Chicken Fat 
Modified Food Starch
Wheat Flour
Cooked Chicken Meat 
Cream (Milk)
Water
Salt
Cooked Mechanically Separated Chicken
Margarine (Corn, Cottonseed, Canola , ( Soybean Oil , Water , Beta Carotene (For Color))
Contains Less Than 1% of: 
Dried Whey (Milk) 
Soy Protein Concentrate
Monosodium Glutamate
Yeast Extract
Flavoring
Vegetable Oil
Soy Protein Isolate
Sodium Phosphates
Autolyzed Yeast Extract
Chicken Flavor (Chicken Stock , Chicken Powder , Chicken Fat)
Spice Extract
Partially Hydrogenated Soybean and Cottonseed Oil 
Butter (Milk)
WHEW!  Not only is that list extensive, but what do YOU think the odds are that the Chicken products are from healthy, happy chickens?  You know…chickens that ate bugs, had space to frolic in, knew what dirt and plants were?  And the chicken stock, it was probably a nourishing bone broth made from said happy chicken, right?  
Yeah….
My cream of nothing soups have less ingredients for a few reasons.  
One- The don’t need MSG to taste like meat because they have actual flavorful meat in them.  
Two- I don’t have most of those ingredients
Three- I didn’t season them yet.  Depending on the recipe they will be used for, I can season them (and add the chicken, mushroom, broccoli, whatever) when they are being used.  I always have a variety of spices available, and this makes it easier to make it in large batches. 
Okay.  On to the recipe (and the photos, of course)!
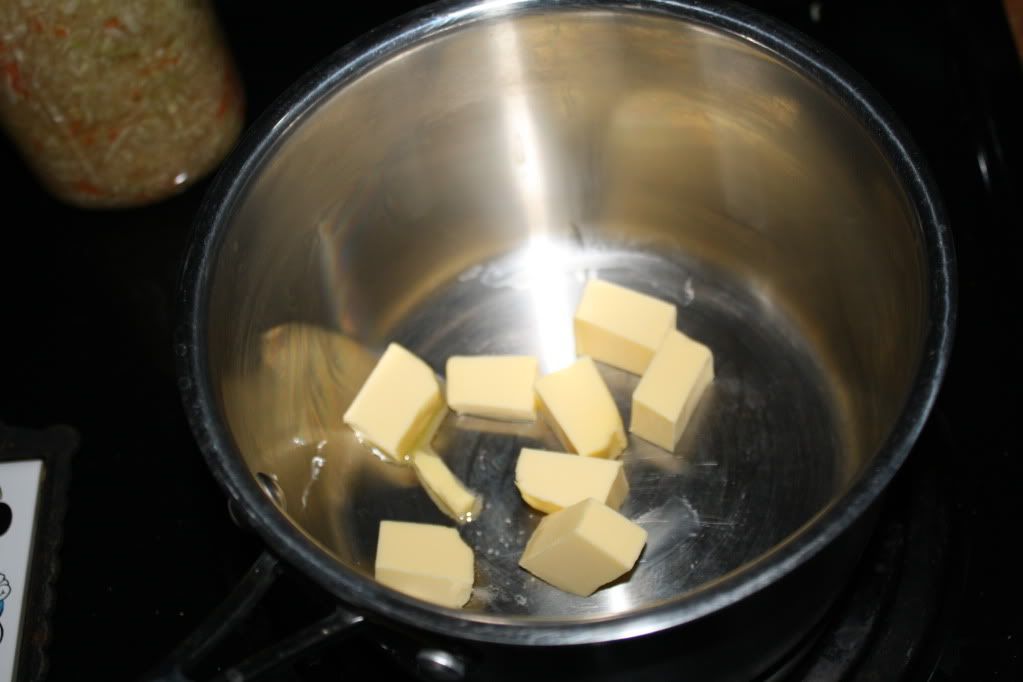
First, I chopped up 2 T of butter and let it melt.
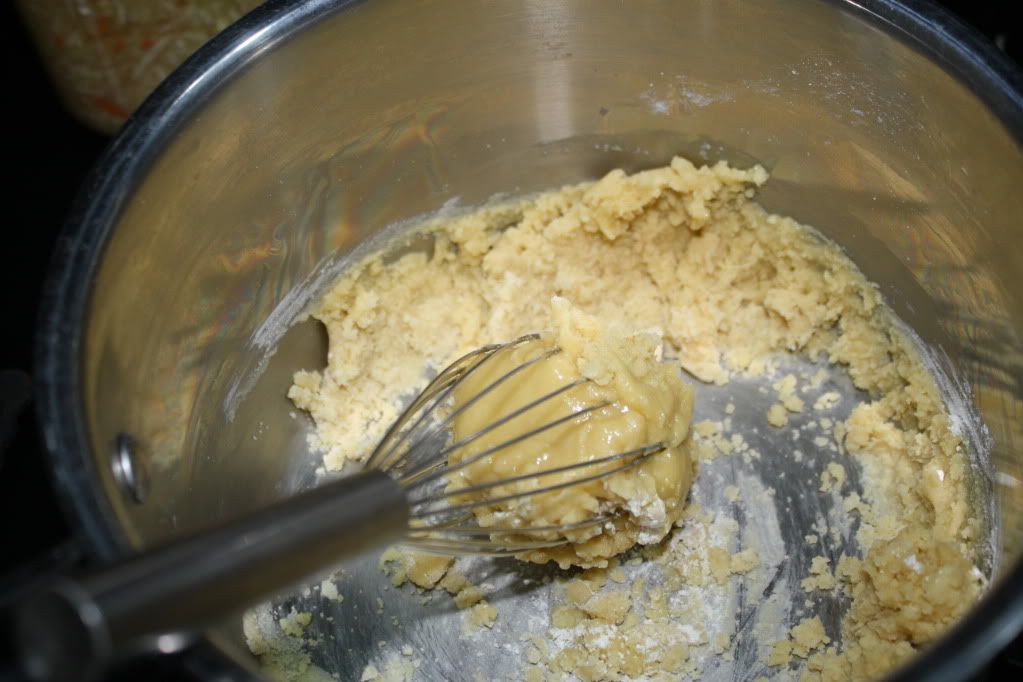
Then, I slowly whisked in about 6 T of whole wheat pastry flour until the butter was thick.
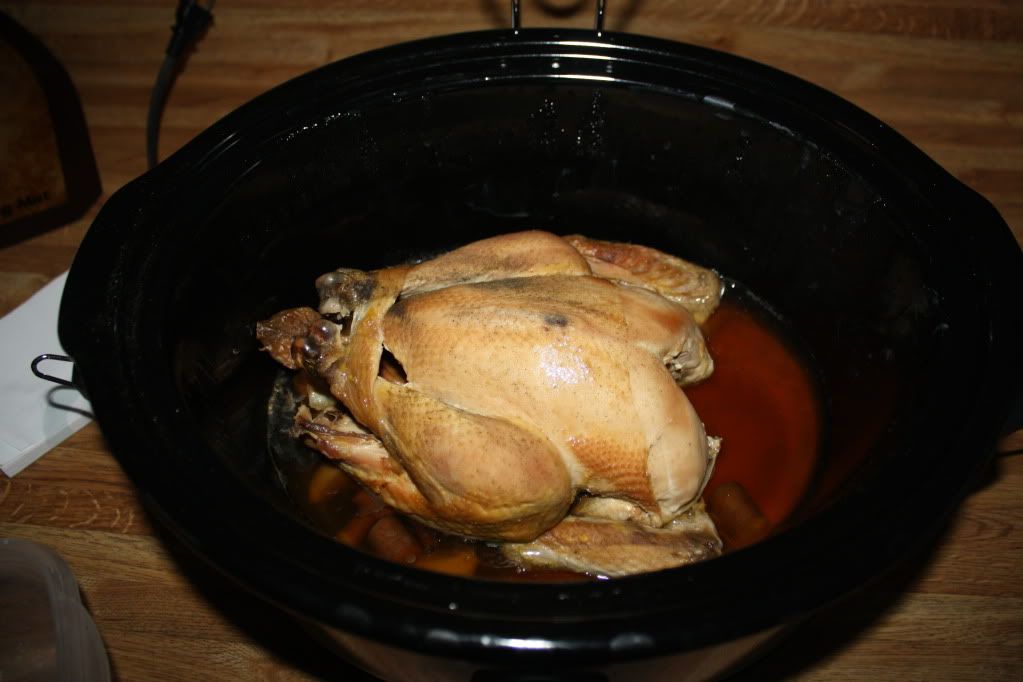
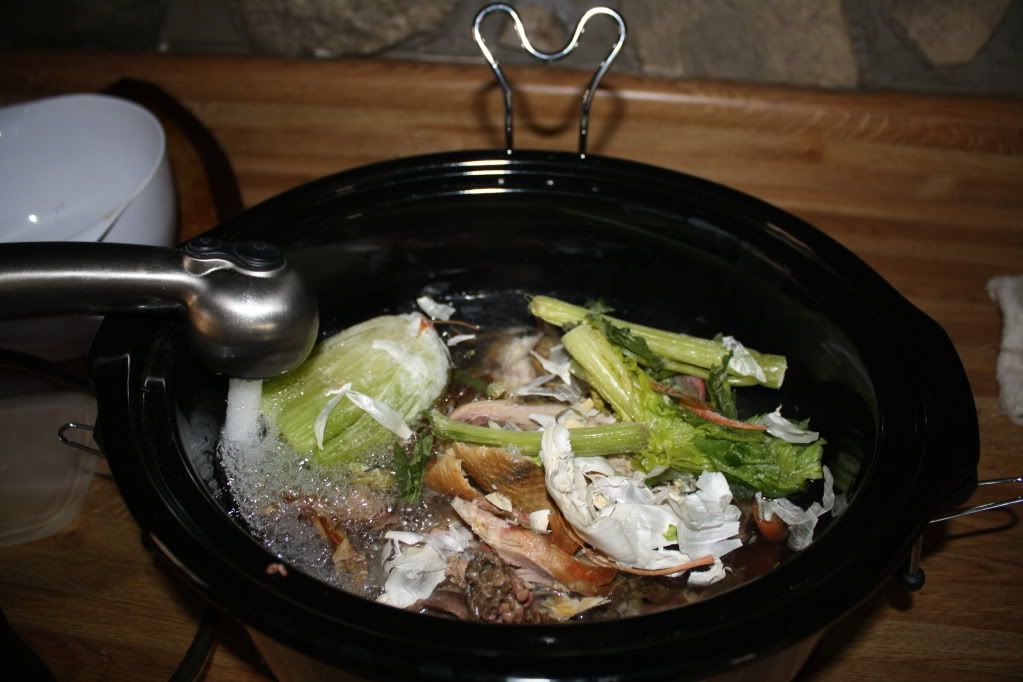
Next, I poured in 1 cup of my chicken broth and 1 cup of whole milk.  I used the gently pasteurized un-homogenized milk as opposed to the raw milk because it was being boiled.  Why waste the good stuff?
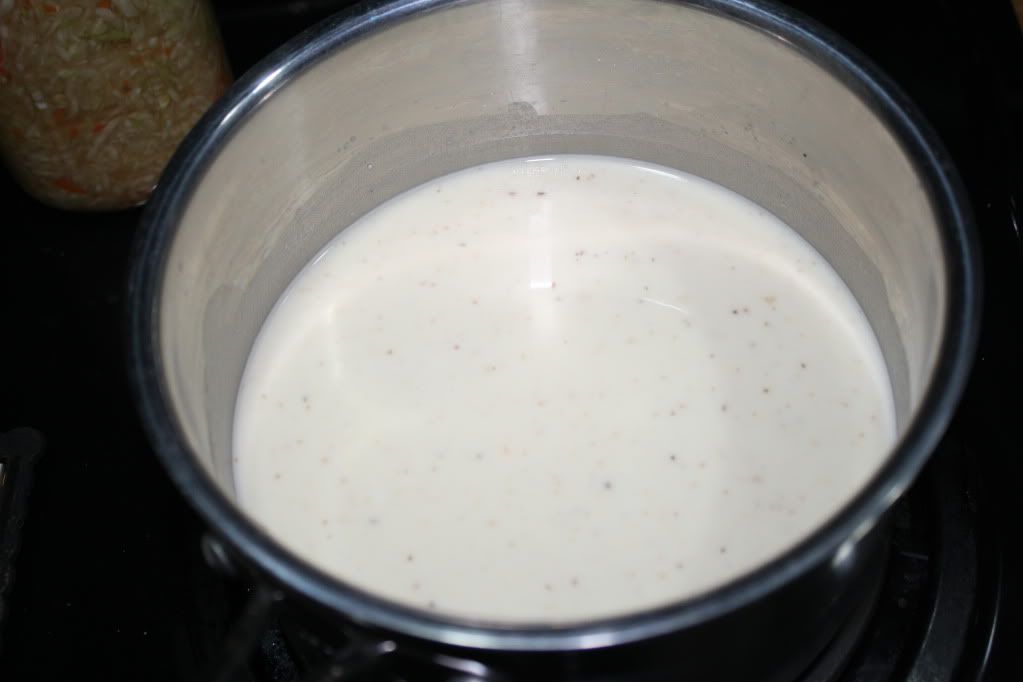
I let it gently boil until it was very thick.  
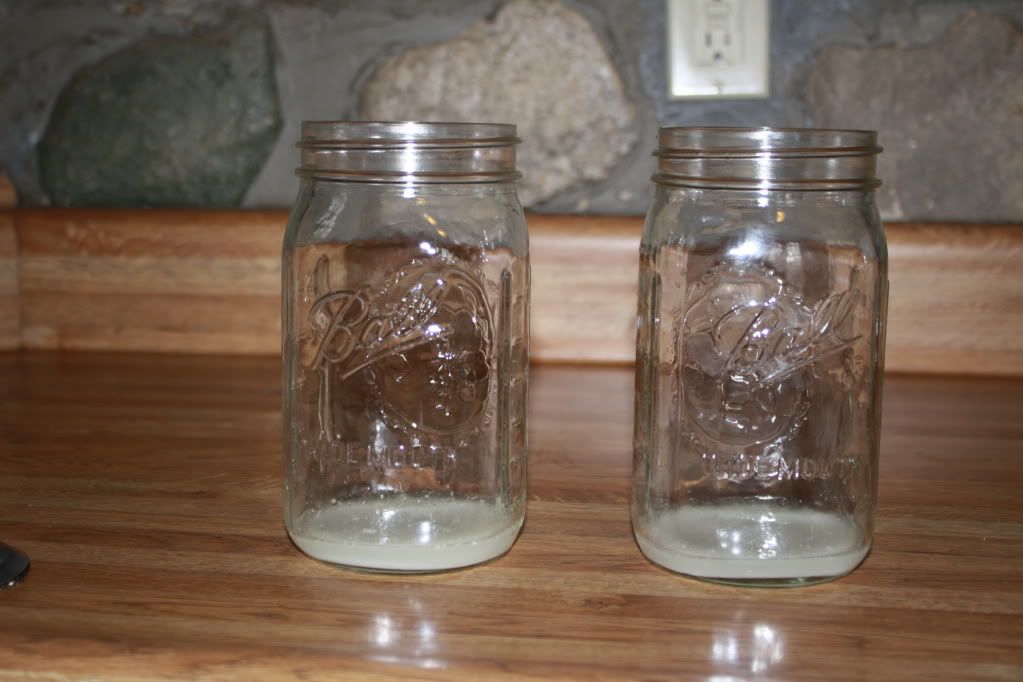
When it was ready, it was poured into jars, 15.5 ounces at a time.  I know that sounds like an odd number, but that is the size of the little cans.  
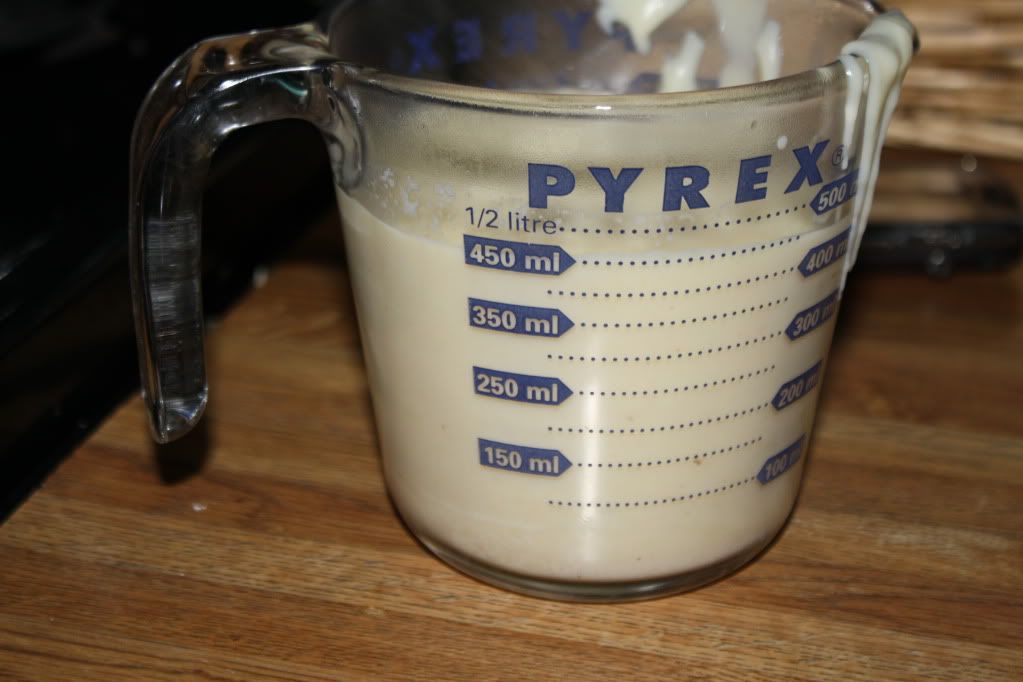
Now I can use this in any recipe that calls for a “can of cream of whatever soup” and know that I made it and it has a grand total of 4 ingredients, all of which I enjoy.
This post was part of an awesome series called Baby Steps to A Rockin’ Life, hosted at A Moderate Life.  Check it out for more great ideas!

This post was featured on Monday Mania at The Healthy Home Economist, Simple Lives Thursday at GNOWFGLINS, and The Hearth and Soul Bloghop!


6 Comments

Ferments, Ferments, Ferments…

So far, my lactofermenting endeavors have been… less than impressive.  The pickles were too sweet and the wrong type of cukes, and the beet kvass (STILL) tastes like salty beet juice.  Hopefully, this latest attempt (Saurkraut) will be a success. 
It was pretty easy to make. I shredded 1/2 of this head of cabbage 
and 2 smallish cabbage and an onion in the food processor.
Then, I put the cabbage mix into a huge bowl, sprinkled it with 2 T sea salt, and mashed it with a potato masher.
After that, I grabbed 2 quart mason jars, put 1/8 of a cup of whey in each (total of 1/4 whey).  
They jars were topped off with some filtered water, and left to ferment…
They have been sitting in my kitchen for about a week.  Our house is kept at 63* when we are home, 53* when we are not and at night, so it is pretty cold for things to ferment.  I have kept this concoction on the dishwasher or on the stove most of the time, so they are kept a bit warmer.  At this point, there are some tiiiiiiiiiny little itty bitty bubbles forming and floating up to the top, so I’m pretty sure that is a good thing.  
Now, for the teeny issue I didn’t consider when I started this project.  It might affect my opinion on the outcome.  
I don’t like the smell or the taste of saurkraut. 
If you have made your own in the past, how did the taste/smell compare to the conventional stuff?


9 Comments

Taking Stock

Don’t worry, this is not another post about poultry stock successes and failures.  I wanted to take some time to review some of the healthier habits I have incorporated into our lives at this point and what is on the horizon.  Sometimes I feel as if I haven’t made much progress at all, and I think (hope?) putting it down on paper will help me see how far we have come. 

  • Eliminating “scientific ingredients” was the first step on this journey.  Seeing how my health suffered after eating processed foods led to one change after another. 
  • One of the first big changes we made was to begin drinking raw, unhomogonized, whole milk from grass-fed cows. 
  • In conjunction with the milk, we also started to use cheese from the same source, and to buy butter from grassfed cows.
  • Once our dairy was from healthy animals, our meat was next.  We now eat grassfed beef, pastured chickens.
  • Our eggs also come from pastured chickens.  The yolks are SO BRIGHT and firm!
  • Once the ingredients were upgraded, the meals themselves were on the chopping block.  Our cooking oils of choice are now BUTTER!! and Virgin Coconut Oil
  • I make Chicken Bone Broth a few times a month and use it in most of our cooking.
  • I just started fermenting!  We’ve only had pickles and beet kvass so far, and they were both underwhelming, but it’s a start!
  • More and more of our convenience items are now from scratch.  My yogurt, peanut butter, bread, and pancakes are usually in the house.  I have also tried my hand at macaroni and ravioli, but I dont make them regularly. 
  • About a year ago I switched to home made deororant, and a few months after that we both went “No-Poo”
  • When we moved into our new house we put the microwave into storage.  We heat things in the convection oven, the regular oven, or on the stove.
  • All of our pantry food is stored in glass jars.  About 1/2 of our leftovers are stored in glass. 
  • We started taking our own bags when shopping
  • I started recycling our junk mail and shredding instead of throwing it out
  • We have mostly stopped using paper towels and napkins, relying on cloth instead
  • I clean with baking soda and white vinegar instead of noxious chemicals

 WHEW!  What a list!  When I see it in writing, I know we have done more than a bit to improve our health and our world. 

Where are some of the things I would like to start working on or need to improve on:

  • I want to start soaking my grains and beans
  • I need to get back into the habit of making bread and peanut butter regularly. We have been buying it pre-made more than I would like
  • I would like to try lactofermenting more things.  Sauerkraut is on the menu for this week!
  • We have yet to find a good, affordable source for pastured pork
  • I would like to render and save animal fats for cooking, so I need to find some healthy sources for that
  • There are so many different types of meat (organs, especially) that we haven’t explored.  I would like to change that
  • I use very few cosmetics now (just lipstick, eyeliner, and mascara), but when I start to run out I would like to find healthier alternatives
  • John has very sensitive skin and doesn’t like to change products once he finds one that works.  I would like to help him find more natural (or even home made!) products.
  • Right now we use plastic containers for our leftovers because we are heating them up at work.  The glass containers get VERY hot in the microwaves.  I’m not sure how to solve this yet… Suggestions Welcome!
  • I have been dying to try a DivaCup, but I haven’t made the leap.  I guess it’s because I don’t want to get the one size, and then have to get the next one soon because of my age/if I get pregnant.  I know it’s a silly reason, but it’s what is holding me back.  I guess I just need to suck it up!
  • We have been really bad at remembering to bring our reusable bags into the stores.  I have them in my car, but we still forget to take them OUT of the car and into the store. 
  • I would love to cut back further on our use of plastics

I know this was a boring post with no pictures or funny fails, but I really needed to see this all in writing.  I would LOVE to about your journey, or hear any suggestions you may have for me!

This post was featured on Real Food Wednesday at Kelly the Kitchen Kop and Fight Back Friday at Food Renegade!


3 Comments

Beet Kvass

As I delve deeper into eating in a more traditional way, I am constantly exposed to new (to me) things.  It seems as if the universe reveals to me exactly what I am ready to learn just when I am ready to try it.  The newest thing I am ready to try?  
Fermenting.  Fermenting Beets, to be exact.  
I washed them, chopped them, and stuffed them into mason jars.  The jars had 1/8 cup of whey in each, along with a T of salt.  
I filled the jars up with water and waited. 
And waited.  So far?  Tastes like salty beet water.  There was a mold-looking thing on top, but I skimmed it off.  It has been about…. 3 weeks?  Our house is pretty cold (63 when we are home and awake, 53 at night and while we are at work) and it apparently takes a longer time to ferment at lower temperatures.  


8 Comments

Crockpot Roast Chicken

I know, I know, you are sick of hearing about my obsession with roasted poultry.  This is the last one for a while, I PROOOOMISE.  I just want to share with you the real way I make a crock pot roast chicken and the subsequent stock.  Indulge me?
Oh, and by the way… I am using my shiny new crockpot. 
First, I throw any carrots, onions, garlic, and/or celery into the bottom.  This time, I only had a carrot and some garlic.
Then I plop a chicken on top.  Lately I have been ordering 2 or 3 lb. free range chickens from my milk/cheese delivery company.  
Sometimes, I season the chicken.  Lemon, adobo, garlic, anything is good.  The only thing left to do it cook it for a good, long time on low.  It soaks in its own juices by the end of it.  
I take it out for a minute when it is done and cut out as much of the meat as I can.  Usually we eat the legs for dinner that night, save the breasts for something else, and the scraps go into soup.  Everything that is left goes back into the pot filled with water and the frozen scraps you have been saving.  You HAVE been saving them, haven’t you?
I won’t bore you with the details of this again, so if you need stock-making details, click on over here.  Unless you want to see a fail.  Then, click here.

This post was featured on Simple Lives Thursday over at GNOWFGLINS and The Hearth and Soul Bloghop!


10 Comments

Turkey Stock without a Crockpot

In case you missed it, I broke my crockpot.  It was a sad day, not only because I use it for, oh, I don’t know… EVERYTHING, but also because I had a Thanksgiving Turkey Carcass frozen waiting to become stock.  As I finished my last jar of stock from the last time, I knew I needed to try making it in a Stockpot.  I mean, it is called a STOCK pot, it is MADE for making stock, no?  No.  Not for me, anyway.  
I threw the carcass into the pot and frowned.  It was too big, but it was frozen, so I couldn’t make it smaller.  
I decided to up the water temp and melt it down.  Then, I could break it into pieces and it would fit. 
Once it was all melted and fit in the pot, I added the frozen produce I save for stock.  Celery leaves, carrot tops, onion tops/peels, and garlic nubs got thrown in.
Since the turkey was already cooked, I didn’t add any other seasonings.  I let it simmer for a few hours, and then got ready to sort it.  
Did you happen to note all the yummy extra meat?  My family knew it was for stock, and didn’t pick it clean at Thanksgiving.  Being the cheapskate that I am, I get TWO sets of stock out of it.  The first one, this one, is made and the meat picked off and saved.  Then, I throw the bones and skin back in to make a second batch. 
This is the meat from the first batch.
The leftover bones/skin:
The stock:
This first batch made all this:
A little over a gallon!
While I succeeded in making the broth without the crockpot, it was NOT enjoyable.  I like being able to throw in the ingredients and just let it cook overnight.  This I had to watch!  It required me to be HOME!  In fact, after this, I went out and bought myself a new slow cooker.  I don’t ever want to have to to this again!

This post was featured on the Hearth and Soul Bloghop!


Leave a comment

Poultry Stock (In Honor of Thanksgiving)

Happy Thanksgiving!!! 
This is, hands down, my FAVORITE holiday.  Why?  Well, I love food and I love my family.  Those two things come together (without the pressure, cost, and waste of gifts) in perfect harmony on Thanksgiving.  
In honor of this holiday, let me show you a bit about how I make stock.  My family actually had a pre-Thanksgiving Thanksgiving (not to practice, but to extend the holiday!) and I grabbed up the turkey carcass.  I thought my dad’s head was going to pop off, since he usually snags them!  If I can give you one tip about eating well on a budget, it is DON’T be afraid to ask/beg.  Friends and family grow in their gardens, buy too much, and waste scraps.  Garden food is awesome, over purchased eases their burden, and scraps can be stock, soup, even compost!  
(The bag on the right is for soup scraps, the Tupperware on the right is for composting.)
Right now we are having BOTH of our sets of parents save all of their fruit/veggie/coffee/egg scraps for our compost pile (more on that in the future).  Anyway, ask and ye shall receive!
In this case, I received a huuuuge turkey carcass that was barely picked over at all.  It went into my crockpot with scraps of carrot ends, celery leaves, onion ends, and garlic ends.  I save these EVERY time I cook (and I use a LOT of onions and garlic, let me tell ya) in the freezer and take them out when I am ready to make stock.  The crock-pot was then filled up with water and a few splashes of Apple Cider Vinegar (with the mother). 
It cooks up for a few hours on high, or overnight on low (that’s what I do).  When it is done, pluck out what you can, and strain the rest of the stock. I pick over the stuff that is strained out and, depending on how picked-over the carcass was to begin with, I get 1-4 cups of shredded chicken off of it!
This was used for egg rolls and fried rice!
I put the strained stock into Mason Jars to store them in the fridge, or double bagged in the freezer.  I haven’t ventured into glass in the freezer because I just don’t have the room right now.  I’m hoping to get an upright freezer soon, and then it will be all glass, all the time!
It really is that easy.  I throw the stock into everything.  I cook rice in it, sometimes I cook macaroni in it, I add it to basically ANYTHING that is being cooked in a pan.  Anywhere you would use canned broth/stock, use this!


1 Comment

Yogurt

Making yogurt is one of those things I never thought of doing.  On the other hand, it was one of those things that John’s mom had always made for him growing up.  He started making it for us when we began eating in a more whole, traditional way, and now he’s taught me!
We make our yogurt from gently pasteurized, non-homogenized whole milk.  We don’t use our raw milk for this because it is more expensive and the milk is heat up anyway.  I buy a quart of milk, and add it to the double boiler (a pot full of water with a smaller pot in it.  It keeps the milk from scalding since the steam from the water is what is actually heating the milk.). 
When the milk is above 170* (I usually aim for 180*), remove it from the heat.  Allow it to cool down to about 110* and then add some yogurt (2T?).  I use yogurt from the last batch, but if we haven’t made any in a while, I use store-bought.  Make sure the temperature of the milk is not above 115* or you risk killing the yogurt bacteria!
Stir the yogurt well into the milk.  Now, all you have to do is keep the milk at about 110* for 8-12 hours so the milk can do its magic!  We used to put it into a cooler with a hot water bottle, but we lucked out at a garage sale and got a yogurt maker!  Basically, it is just little individual cups that you put the milk into and it incubates it for you.  Not something I would have bought full price, but considering we make yogurt weekly, it was a great $5 used purchase!
 After 8-12 hours, you can put the yogurt in the fridge and enjoy it! 


4 Comments

Lacto-Fermented Pickles!

Since jumping headfirst into a more traditional way of eating, we tried many things from “Nourishing Traditions.”  We had not yet tried Lacto-Fermentation.  That changed today.
I have a soft spot for bread-n-butter pickles, really pickles of all types.  Lately, however, I have been finding my beloved sweet pickles TOO sweet.  Any pleasure derived from them was canceled out by my feelings toward the ingredients and a desire to create my own.  Enter:  Lacto-Fermented Pickles.  
I started saving the whey from our most recent yogurt making experience, so I was prepared.  We stopped by a local grocery store that has rock bottom prices, but questionable produce.  When I saw that they had decent cucumbers, I grabbed three.  If this little experiment didn’t work, I didn’t want to have wasted good cukes!
I sliced them up on the mandolin.  Since they were not pickling cucumbers, they got seeds everywhere and weren’t very pretty, but whatever.
I stuffed them into 2 mason jars.
Then,  the magic was added.  1 cup of lemon juice, 1/3 cup of whey, 3/4 cup local honey, 3 Tablespoons of Sea Salt, 1 Tablespoon celery seed, and 1 teaspoon of mustard seed.  
The magic was poured into the jars and the jars were closed up tightly.  
 They lived on the counter for 2 days, and then were taste tested.  Mild, yet yummy.  They have since been transferred to the fridge for future eating.  


Leave a comment

Our Food Philosophy

Now that you have seen our fabulous kitchen, I thought I should let you know a bit more about our cooking/eating philosophies and the journey we took to get here.  The families we were raised in blessed us in many ways, and instilled in us a love of food and an understanding of the importance of nourishing our bodies.  John and I both grew up eating in a very healthy way. 
John’s parents were both born in Lebanon and that, of course, heavily influenced the foods he ate.  Balanced, large meals stuffed with a variety of grains (especially rice), veggies (more ways than you can count!), and meat, meat, meat filled each day.  No meal was complete without a few radishes and an ENORMOUS bowl of fruit.  Highly processed “junk” foods rarely made an appearance in his house, and soda was unheard of. 
My parents never pigeon-holed me into eating standard “kid-food,” and to that I credit my love of food.  It is common knowledge in my extended family that I was the one that “was teething on squid!”  Fruits and veggies filled most of my plates, with delicious meats to round them out.  Nearly all food was home-made, partly due to the health factor, partly due to my father’s love of cooking, but mostly due to frugality.  He could squeeze a chicken forever!
That ability to stretch a chicken (and the dollars that bought it!) is what initially sparked our cooking/eating/lifestyle turnaround.  John and I had been dating and were living on our own.  We had both gained a bit of weight and were spending a bit too much.  I began to research more frugal living, and loved how often it overlapped with a healthier, more green lifestyle.  As someone that has suffered from allergies, asthma, and digestive… issues, the less unhealthy, unnatural elements in my life, the better! 
Anyway, back to the chicken. 
I decided that I wanted to make my own chicken broth. I began researching how to make a good, healthy broth and read a number of blogs I had never seen before.  (At the time, I had already begun blogging at “Munching Madness.”  If you are looking for other recipes, click on over there)  They introduced me to the ideas and research of Weston Price and something just… clicked.  It all made perfect sense.  I was hooked. 
I knew changing over to this type of eating would change our grocery budget, so I began to cut back in other areas.  I made our cleaners from things I had around the house.  I was never one to have too many “things,” but I started to buy even less.  I read “Nourishing Traditions” by Sally Fallon and “Real Food, What to Eat and Why” by Nina Planck.  I knew “Real Food” would be the one to sway John with her simple, straightforward explanations, and he needed to be on board for this to work.  On our honeymoon, on the beach in Maui, he started to read it.
By the plane ride home, he was already brainstorming how to make it work in our budget and the exciting things we were going to buy, cook, and eat.  The rest?  HISTORY!
The best part (so far)?
THE FOOD TASTES AMAZING!
Other good things?
We both lost the extra weight we had put on.  John’s skin cleared up (he had suffered from acne).  The incredible long, painful, menstrual periods I had been experiencing since I was a teen are now light and short.  My digestive issues are non-existant.  While I still have asthma, it is MUCH less bothersome than usual, as are my allergies.  
In short, it WORKS!

This post was also featured on Fight Back Friday over at Food Renegade!